As an Amazon Associate I earn from qualifying purchases.
If you’ve been into any big Twitch streamers channel, chances are you’ve heard a robotic voice reading back messages that are tied to either donation or cheer alerts. Something akin to Google assistant or the Amazon Polly voice. This is called Text-to-speech or TTS, a speech synthesis that is setup through a streamers alerts app software. Streamers can either charge money to have messages read out loud, or it can be done using channel point redemptions. Want to know how to setup it up for your own Twitch streams? Keep reading and we’ll show you below!
What Exactly is TTS (Text-to-Speech) on Twitch?
Twitch text-to-speech, or often referred to as “TTS” are speech tools that are used with stream Alerts services (like Streamlabs, StreamElements) or with stand alone third-party software. A user can enter written text along with their donation or cheer, with an option to have their message read out loud on the receiving content creator’s Twitch Stream via text-to-speech. Gives viewers another level of interaction and allows them to engage with their favorite content creator in real time by either making funny jokes or….lets be fair here, trolling them.
Before setting up, friendly reminder to always make sure to review the Twitch terms of service to check whats permitted and what viewers could do to get your Twitch account potentially in trouble.
How to Add TTS to Your Twitch Stream
Web Hosted Text-to-Speech Bots
With TTS’s recent popularity, new websites with their third-party software offer their own version of Text to Speech that is compatible with Twitch. Some using more traditional voices like Amazon’s Alexa, while others offer premium AI (artificial intelligence) voice models like Homer Simpson! Most usually come with a set list of free voices, then others that require a monthly subscription. Coolest part is you can also set the triggers as well. So you can trigger TTS features from a normal Twitch chat message or by channel points, instead of the traditional text-to-speech donations.
peepoStream
peepoStream is pretty much a one stop shop for a web hosted Twitch TTS bot. A Simple and easy to use third-party TTS software, peepoStream offers a good amount of stock voice models and roughly 3,000 premium voices that require a monthly subscription.
How to Install peepoStream
First, sign into your Twitch account in the top right.
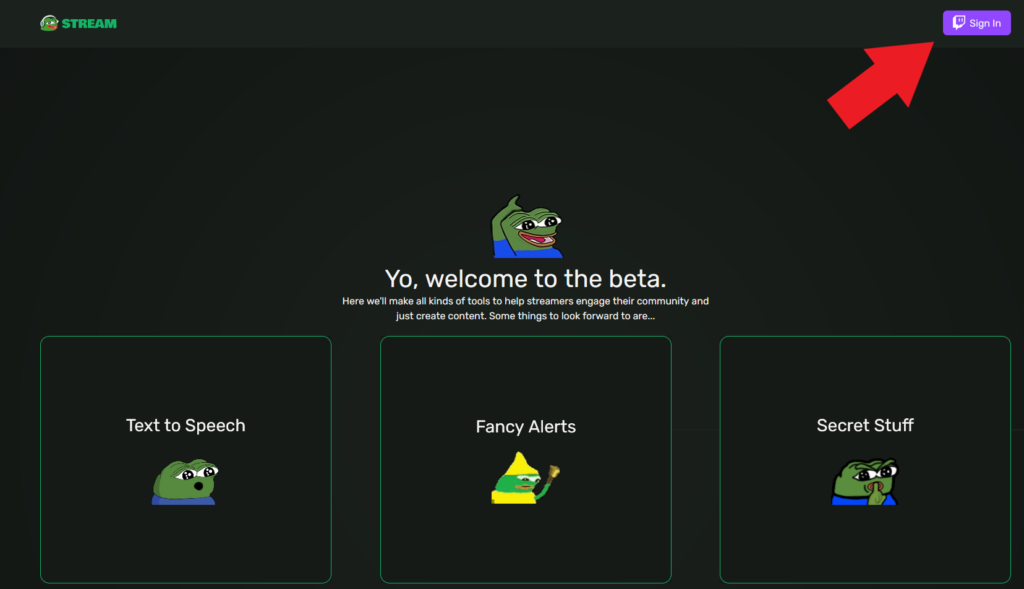
Click on Text to Speech.
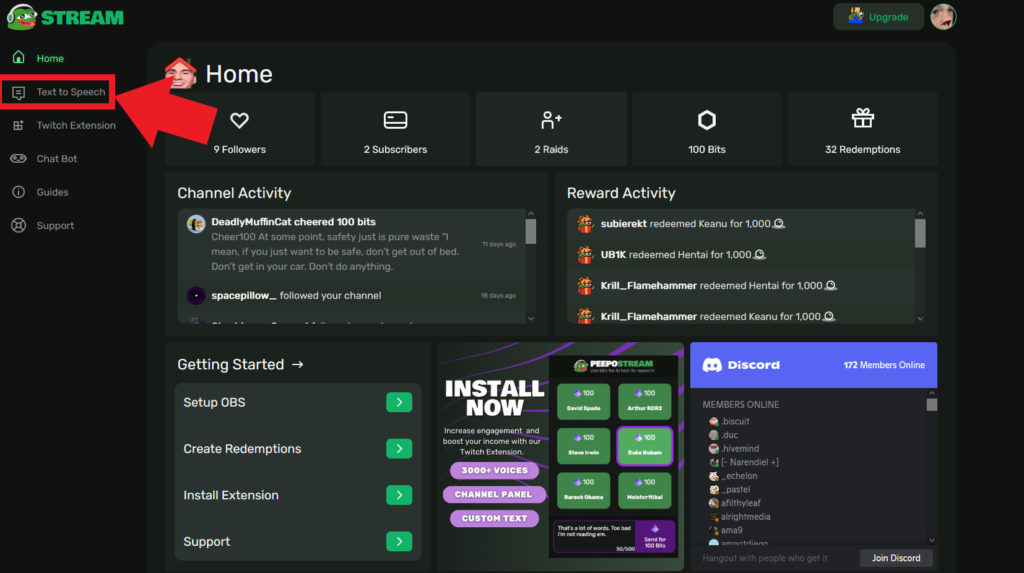
This brings you to the peepoStream TTS Dashboard.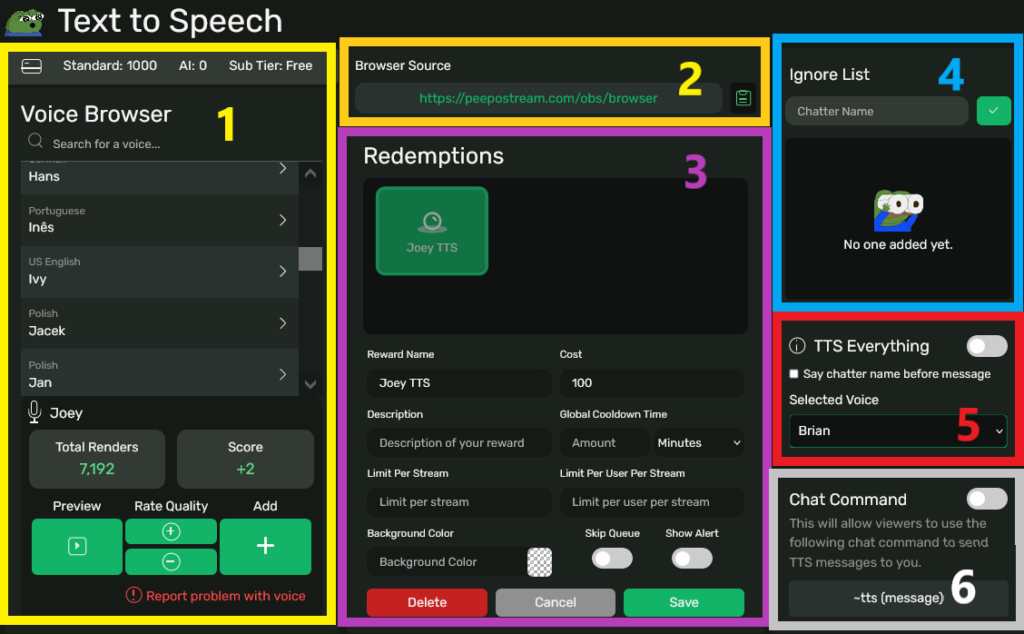
- Voice Browser – This where you’ll select the voice TTS messages are read in, a free account offers a limited set of voices while any character voices is considered Premium. (Amazon does limit redemptions for Premium users, hence the “standard: 1000” text at the top)
- Browser Source – The URL required for TTS messages to be played on stream. You’ll copy and paste this to OBS Studio, an open source and free streaming software.
- Redemption’s – This is the window where you’ll setup your Twitch channel point redemption info. Any redemption’s created inside the peepoStream dashboard automatically create Channel Points Redemptions on your Twitch Creator Dashboard.
- Ignore list – Create a list of chatters who you want the bot to ignore, typically used for spammers.
- TTS Everything – Only a brave soul would select this, enables TTS for all Twitch chat messages.
- Chat Command – This creates a simple chat command using peepoStream, viewers type -tts to have their message read by the TTS bot.
To connect peepoStream to OBS, simply copy the Browser source link shown above (5*).
Find the scene you want peepoStream to be active on, right click sources and select browser.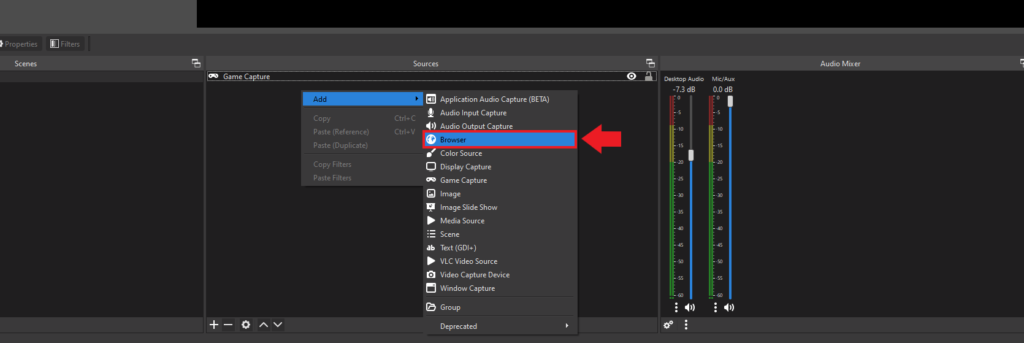
Name it TTS, then paste the copied peepoStream link into the URL field in your Browser source window.
Next, you need to right click on the Browser source in OBS and click Interact. From there you’ll be prompted to sign in with your Twitch credentials, which will finalize the connection.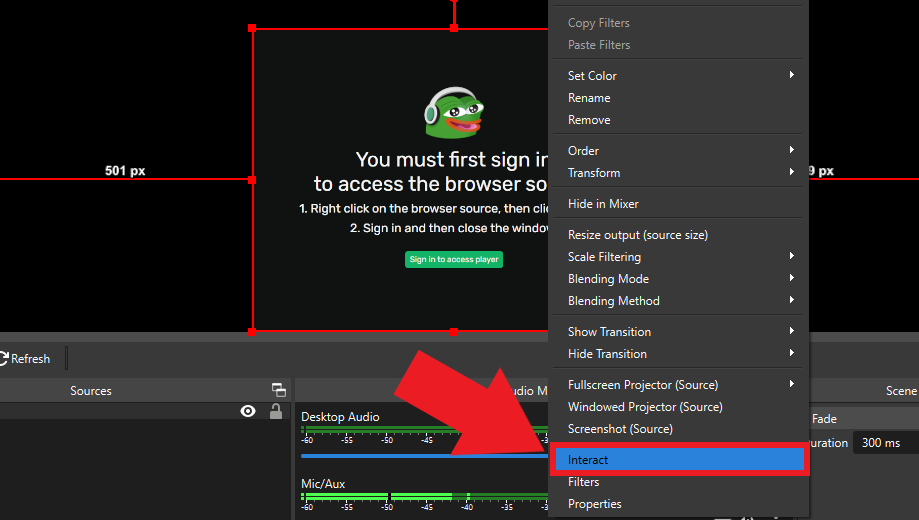
And with that, peepoStream is all setup and connected with OBS Studio and Twitch. If you need to make any changes, just go back into the dashboard.
Free-TTS-For-Streamers
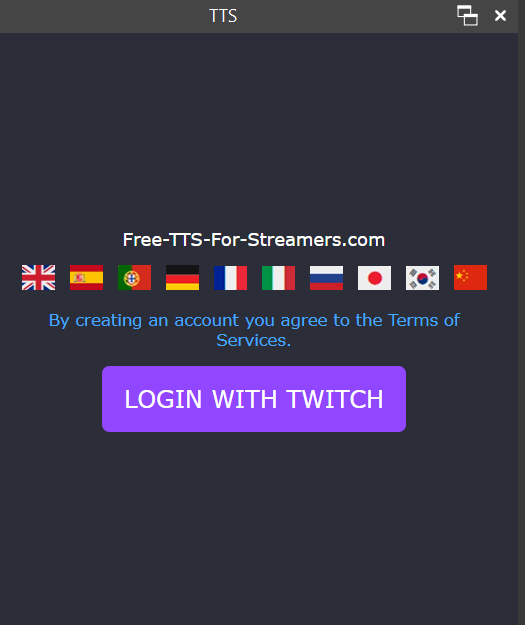
Free-TTS-For-Streamers is a project is ran by SpecialAgentSqueaky and is a by far the easiest Text to Speech bot to get setup initially. It doesn’t require any local downloads and can be run in either a browser, or as a dock in OBS. It only has 3 free voices available, but with a monthly subscription of $1 (at the time of writing this guide) you can gain access to a metric ton of different voices from Amazon’s AWS AI voice and Uberduck’s English voices.
Insane value when considering the monthly cost of other TTS services.
Easiest Way to Install Free-TTS-For-Streamers
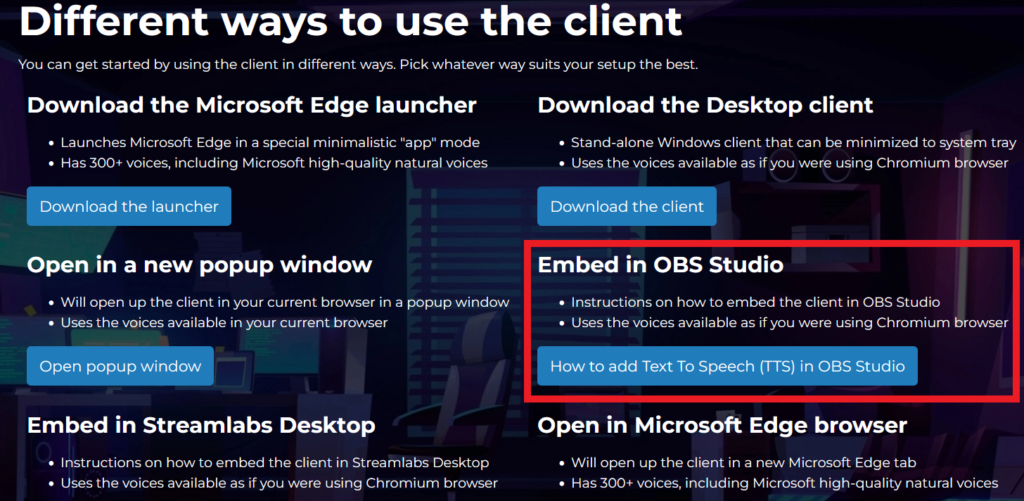
Free-TTS-For-Streamers gives you a bunch of ways to install their client. Either by downloading the local client, running it in a browser, or even adding a browser source. But the easy way we prefer to manage your Free-TTS-For-Streamers would easily be adding their control panel as a dock to OBS Studio. Lets show you how to do that!
Lets start by heading over to Free-TTS-For-Streamers website, right on the home page select the “How to add Text to Speech (TTS) in OBS Studio“.
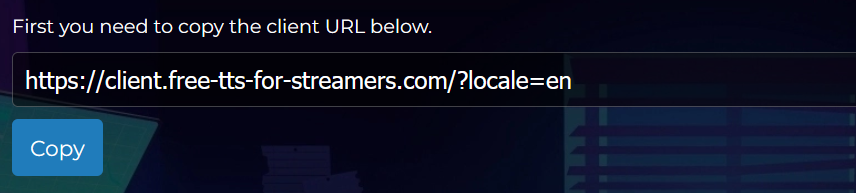
Copy the browser source link.
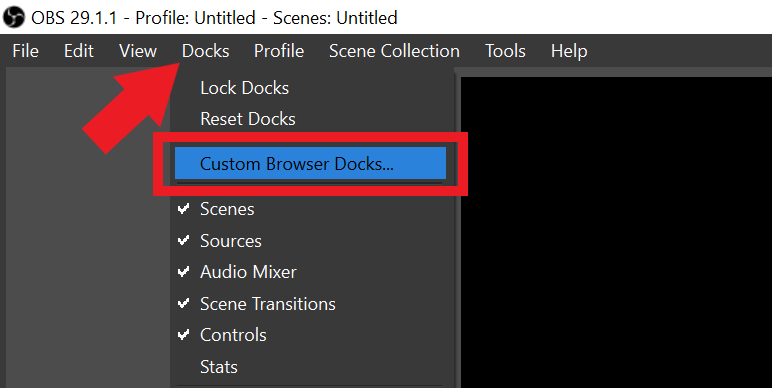
Now lets move over to OBS Studio. Hover on Docks and select Custom Browser Docks from the drop down.
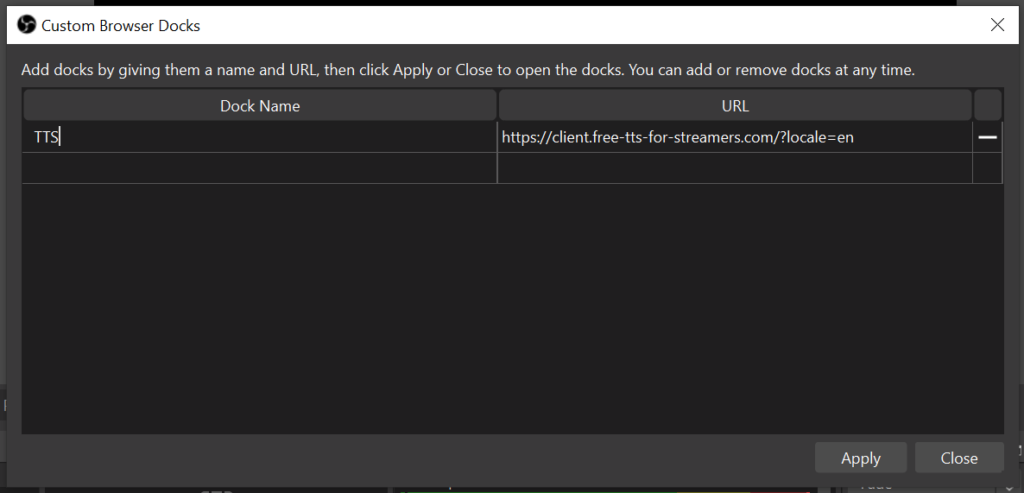
Give the browser dock a name, the paste the copied link from above and click apply.
Move the new dock into position, sign in using your Twitch credentials and authorize.
After authorizing, give it a second to load. If it still gives you issues, just undock and redock the embed. Took us a couple of tries sometimes.
There are two different ways to use the TTS, which differ depending on how you want the bot to interact with your channel.
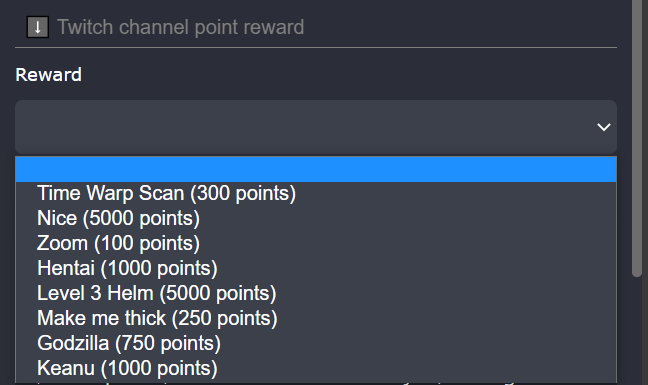
- Twitch Channel Point Reward – If you’re looking for creative and fun addition to your stream, this is a good place to start. After you sign into the dock with your Twitch credentials the bot is able to see all of your current channel point custom rewards that are in your Twitch Dashboard. If you don’t have any set, you can make some by going into your Creator Dashboard –> Viewer Rewards –> Manage Rewards & Challenges.You’ll need to create a channel point rewards specifically for the TTS bot. So get creative with some channel point ideas!
- Automatic Chat Reader – Is exactly as it sounds, the bot reads every message in your chat. You can set it to certain permissions as well, so only Mod’s or Subscribers only.
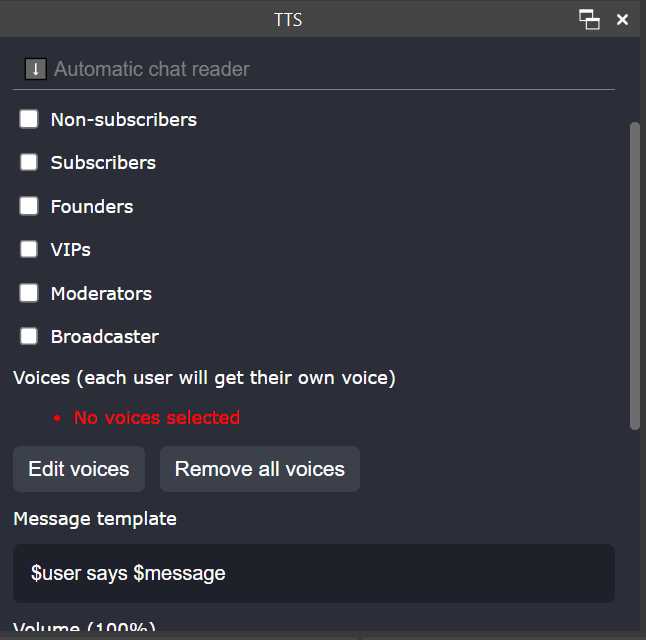
Once you’ve selected either channel point redemptions or automatic chat reader, select Edit Voices.
Select from one of the 3 free voices, click update.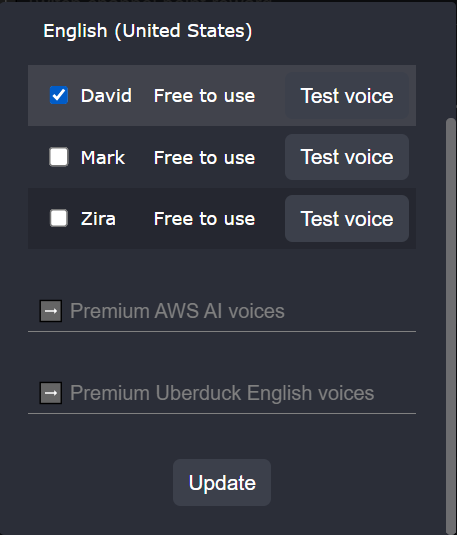
With that, you’ve completed the setup of Free-TTS-For-Streamers.
Streamlabs Text-to-Speech Feature
Streamlabs was one of the first iterations of text to speech donation messages found on Twitch and was huge when first implemented. It gave viewers the chance to steal the spotlight on a stream in a way that boosts viewer engagement and provided a fun way for content creators to monetize their channel, making it a win-win situation for both. This is the primary way most twitch streamers use TTS in their live streams.
Enough chatter, lets show you how to set up text to speech using Streamlabs Alert Box!
How to Setup TTS Donation Alert with Streamlabs
To start, lets treat this as if you’ve never setup Streamlabs for your Twitch alerts. So we’ll do a rough overview of their alert box, along with how to setup a TTS donation alert, and how to set int up in OBS Studio. This method also works with their own in house Streamlabs OBS as well.
List of various alerts types Streamlabs offers with a text-to-speech option:
- Donations
- Subscriptions
- Bits
- Twitch Charity Donations
You have to use the Streamlabs alert box in OBS in order for TTS to be used when received donation’s, bits, subs, etc..
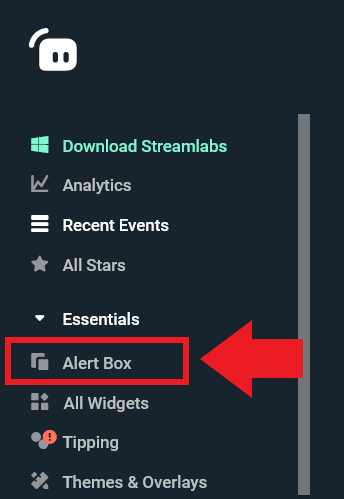
To setup a TTS donation alert Open up your Streamlabs Dashboard, then select Alert Box on the left hand side.
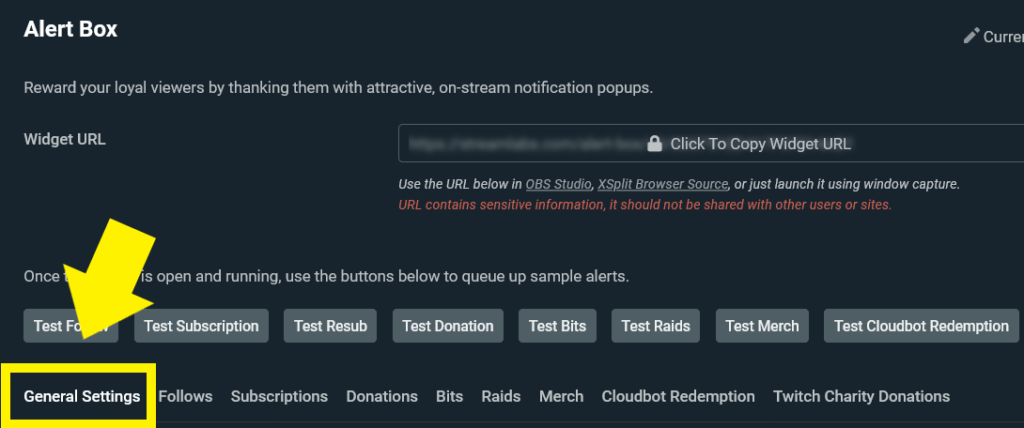
BEFORE WE DO ANYTHING, lets make sure a profanity alert is setup and activated. Go to General Settings.
Scroll down to the profanity filter and Enable it. Streamlabs by default has a standard bad word list and a feature to remove names that contain bad words as well.
If you have a custom list of bad words, you can add them to your personal blacklist.

Now with that out of the way open your Alert Box settings. Lets get our settings for TTS donations setup.
Click on the donations tab.

Side note: While we’re just showing how to setup TTS for donations, these steps can be applied to any of the alert options Streamlabs offers (follows, subs, bits..etc)
Here you have a ton of options on how to setup your Donation alert, text-to-speech included.
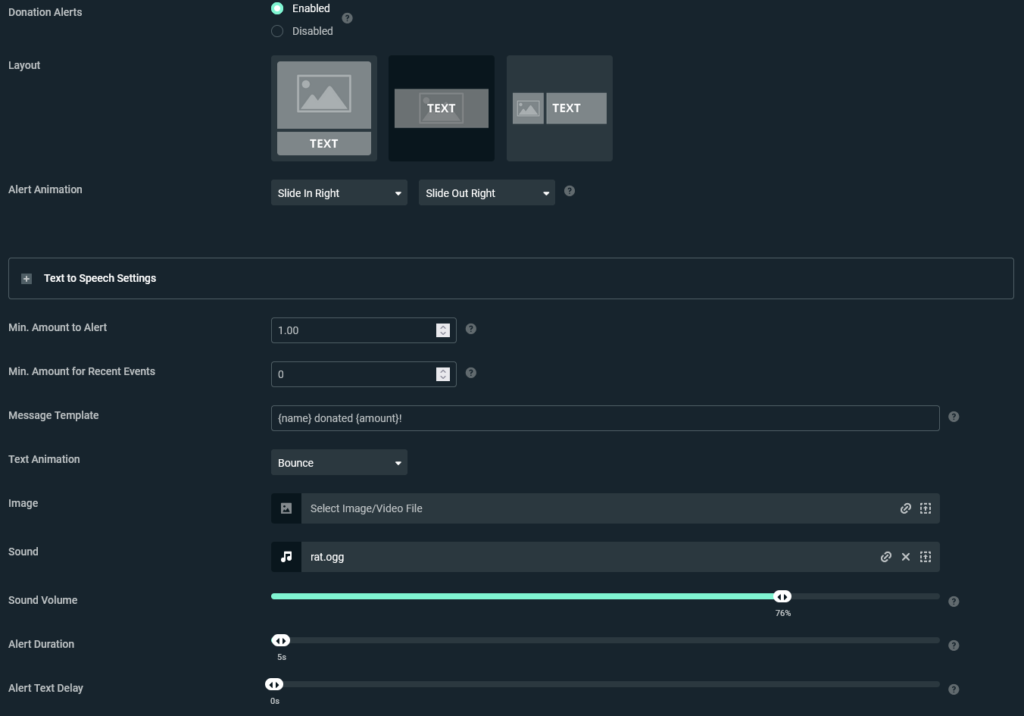
- Min. Amount to Alert – This is the minimum donation amount required to trigger the alert to show up on screen.
- Min. Amount for Recent Events – This is the minimum dollar amount required to show the donation in Streamlabs “Recent Events” widget.
- Message Template – How the donation message will be shown on screen.
- Text Animation – How the message entered with the donation will animate on stream.
- Image – Select either one of Streamlabs or upload your own custom image or file to be shown when the alert is triggered.
- Sound – Here you select the audio file you want played with the image on the donation alert.
- Sound Volume – Pretty self explanatory, how loud you want the alert to be.
- Alert Duration – How long you want the alert to be on screen.
- Alert Text Delay – Set a delay if you want the text to show on screen after the image does.
Now that you’ve setup your Donation alert settings, under the layout and alert animation options, click on the Text to Speech Settings.
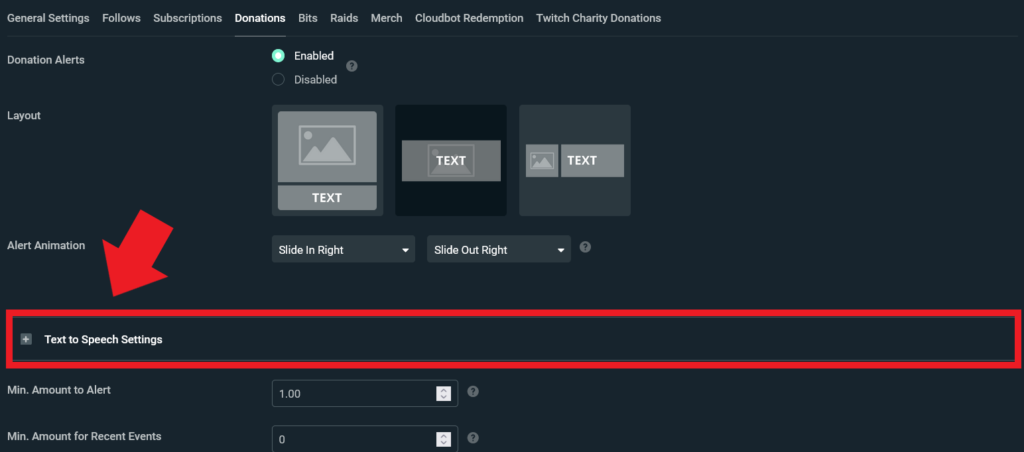
Enable Text to Speech, then tinker with the text-to-speech options to your liking. Would HEAVILY suggest a more aggressive Spam repetition block, learned this one the hard way!
Once done, don’t forget to save settings!
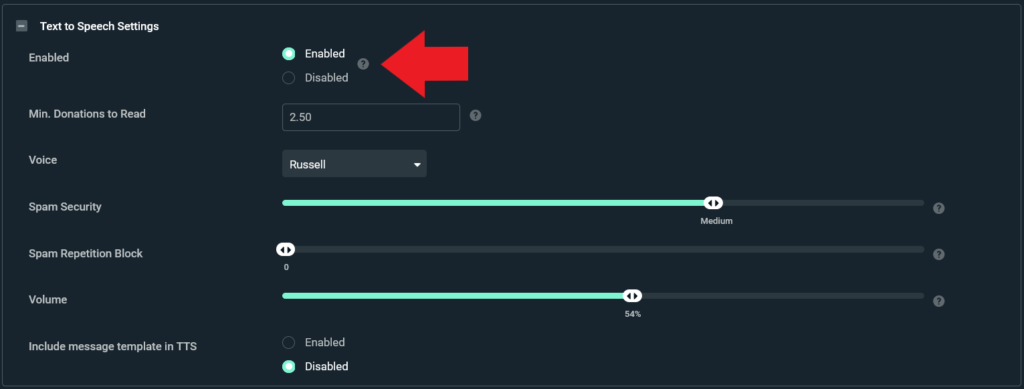
- Min. Donations to Read: The minimum amount required to trigger donation’s text to speech message.
- Voice: Here you can select the voice the message is read back in.
- Spam Security: This controls how long the TTS message can be, so viewers can’t walls of text or copy pasta.
- Spam Repetition: This limits the amount of repetitive text that’s read.
IF YOU INTEND TO USE STREAMLABS AS YOUR DEFAULT ALERT PROVIDER, YOU’LL NEED TO SETUP THE OTHER ALERTS ACCORDINGLY! IF NOT YOU CAN DISABLE THE ALERTS YOU DO NOT WISH TO USE IN THEIR RESPECTIVE TABS!
Adding Streamlabs Alert Box to OBS
Now that we have our TTS donation settings setup, all that’s left to add it to OBS.
At the top of our Alert Box settings, copy the Widget URL. Use the Filter Events Options to filter out alerts you don’t want to trigger and be shown in OBS.
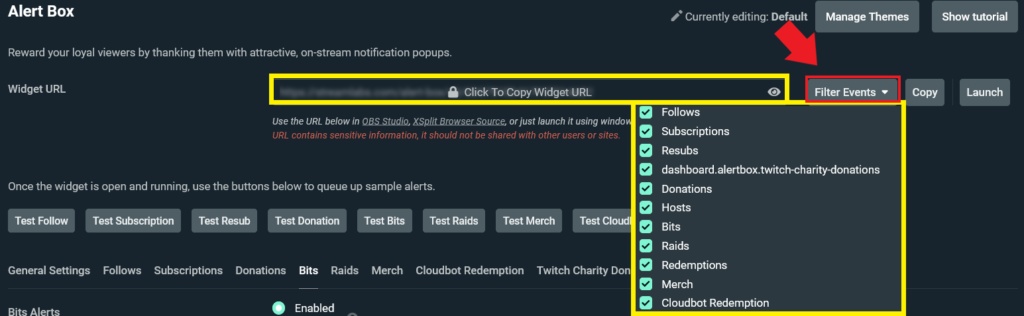
Make sure to never show your Widget URL to anyone! It contains sensitive information and should be kept private.
Now lets go over to OBS Studio and add the Streamlabs widget as a new source.
Paste the Widget URL as a browser source from the drop down menu. Resize and arrange in the preview window.
Now you have Streamlabs donation alerts setup with TTS!
Amazon and the Amazon logo are trademarks of Amazon.com, Inc, or its affiliates.