As an Amazon Associate I earn from qualifying purchases.
If you’ve found your way here, chances are your Dual PC is up and running. Only one problem, you can’t seem to figure out how to get audio going between both rigs. With Plenty of expensive alternative’s out there, but this guide will show you how to get your Dual PC audio setup with NO MIXER! Thankfully the entry cost for this method can be kept quite low, depending on the quality you want to go for. You could easily keep the overall cost under $30.
This guide was made with the intention of using your microphone on your GAMING PC. I share my streaming PC with others in my house, so having my mic always available is specific to my situation.
What’s Required for a Dual PC Audio Setup With No Mixer
Elgato Sound Capture
The only way to download Elgato’s Sound Capture software is by downloading and installing their Game Capture Software. Good thing is you don’t need to use the actual recording software you only need to install it to get Sound Capture.
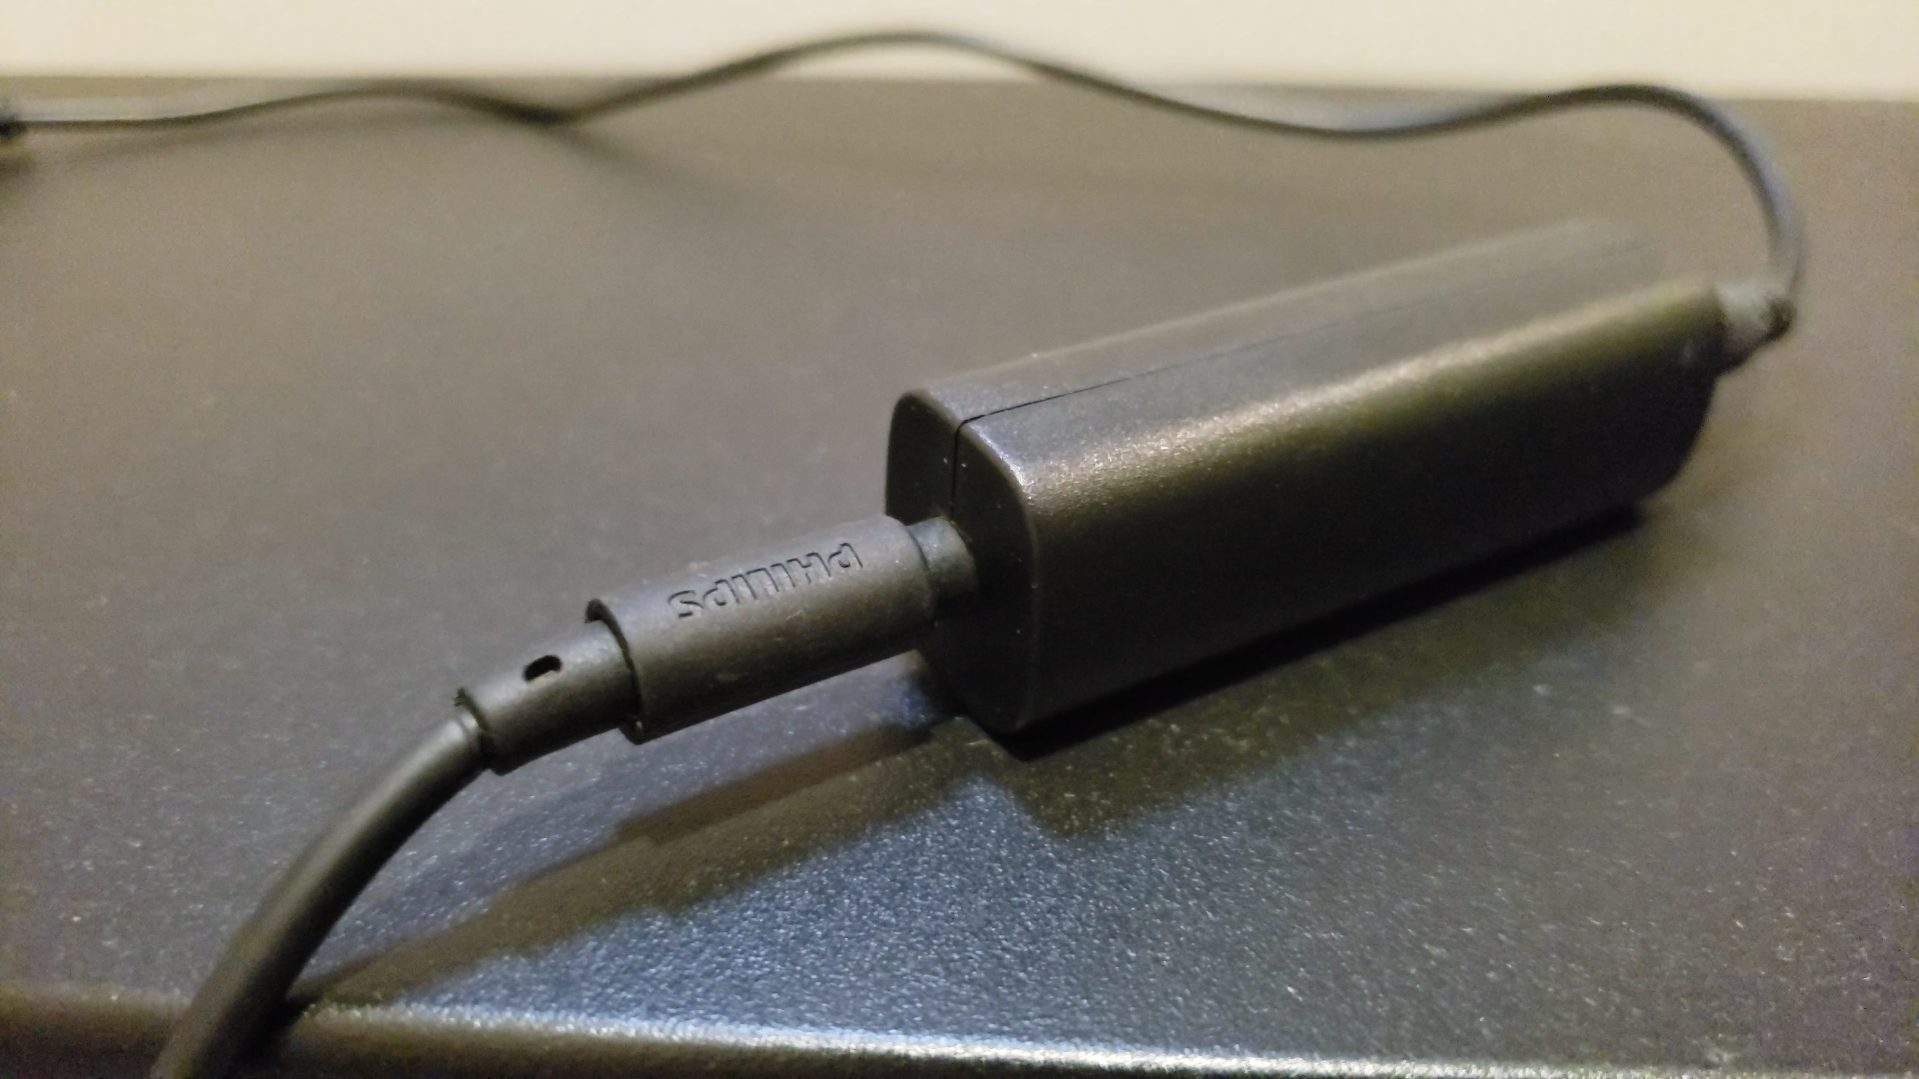
3.5mm Audio Cable x 2

These 3.5mm audio cables are what we’ll use to connect both PC’s together. Typically you should use shielded as it may prevent any outside interference. Normal household items like other electronics or appliances can penetrate and un-shielded cable and bring an unwanted buzz.
Ground Loop Isolators x 2

I made the mistake of not buying these initially, thinking they weren’t necessary. BOY WAS I WRONG!
Once both PC’s hooked up, there was a nasty buzzing sound that ruined my gameplay audio and mic. These are a must have if you want clean audio.
Connecting Both PC’s using 3.5mm Cables
With the 2 x 3.5mm cables and 2 x ground loop isolators in hand, lets get these computers hooked up! When posting this I purchased non-shielded cables and get some interference from time to time. Not a deal breaker but to really make sure your signal stays pure, don’t do what I did kids. Get shielded 3.5mm cables!
Gaming PC
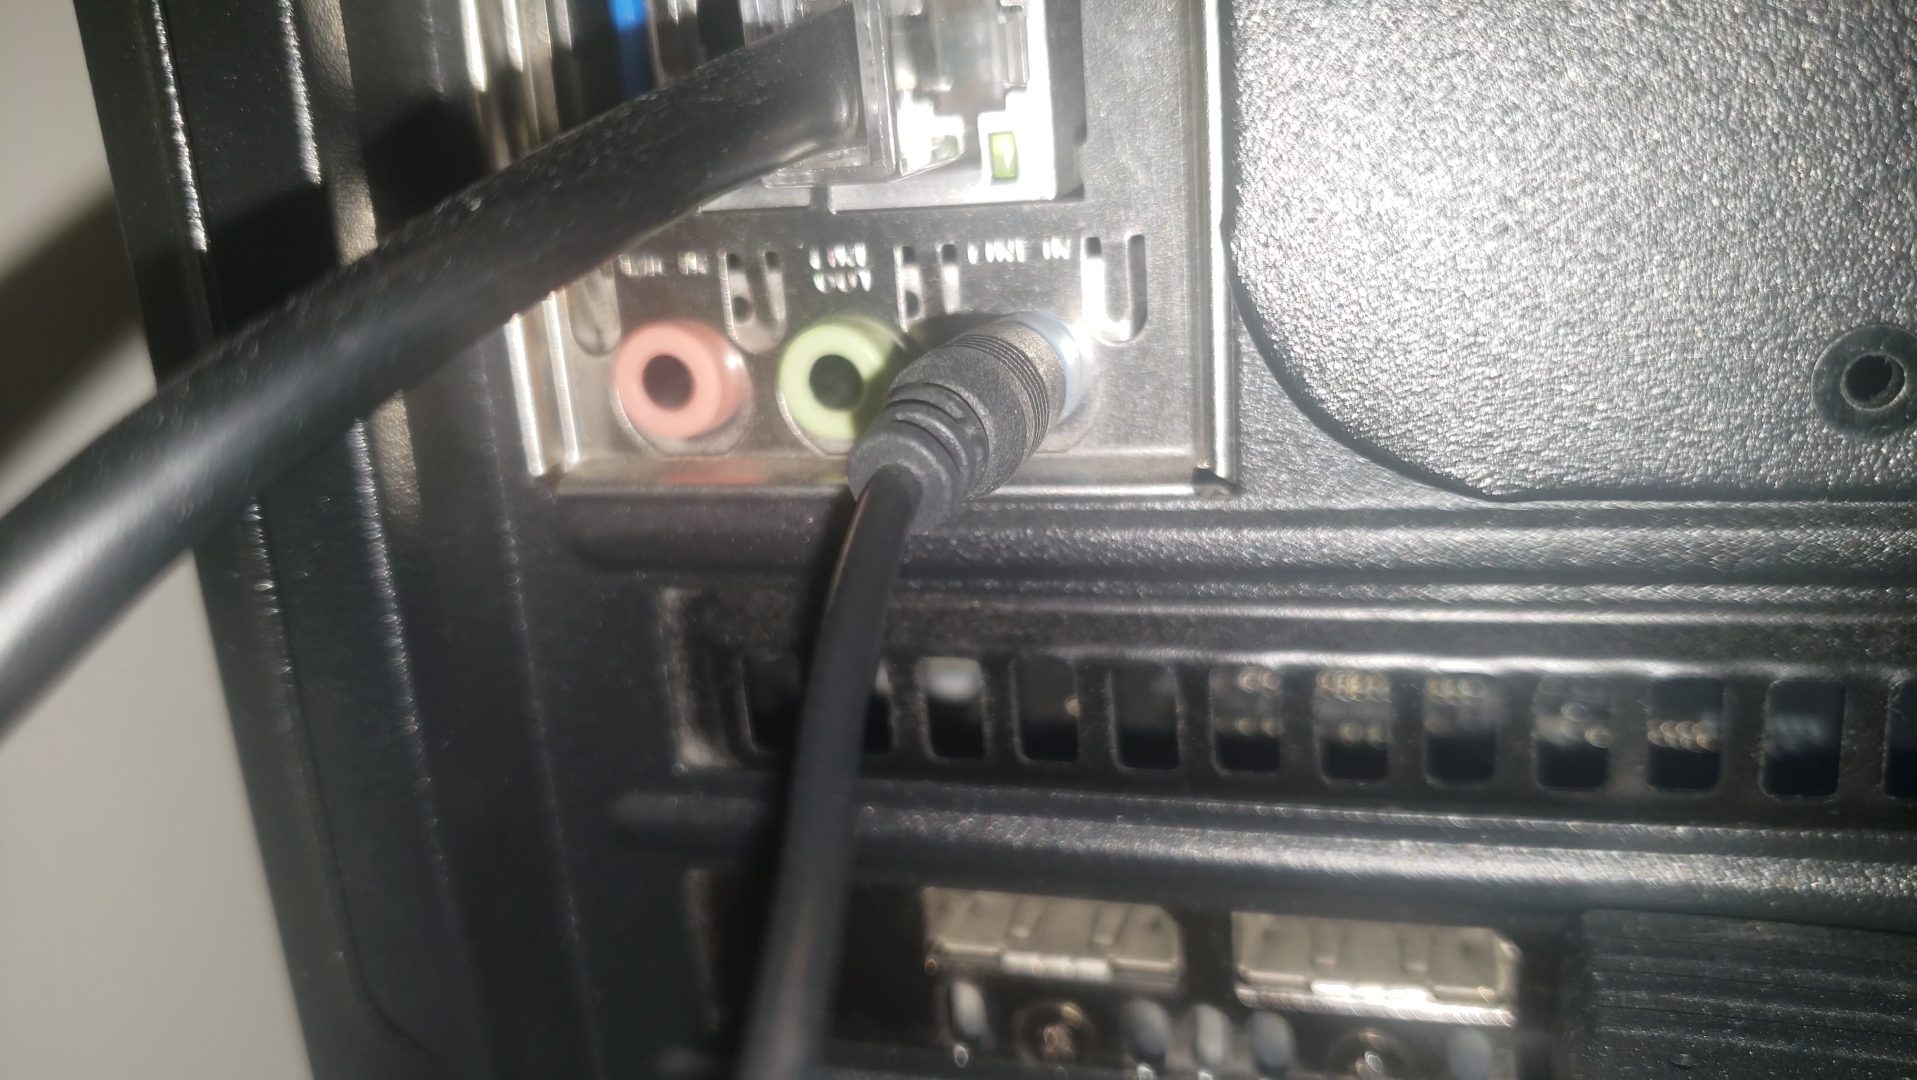
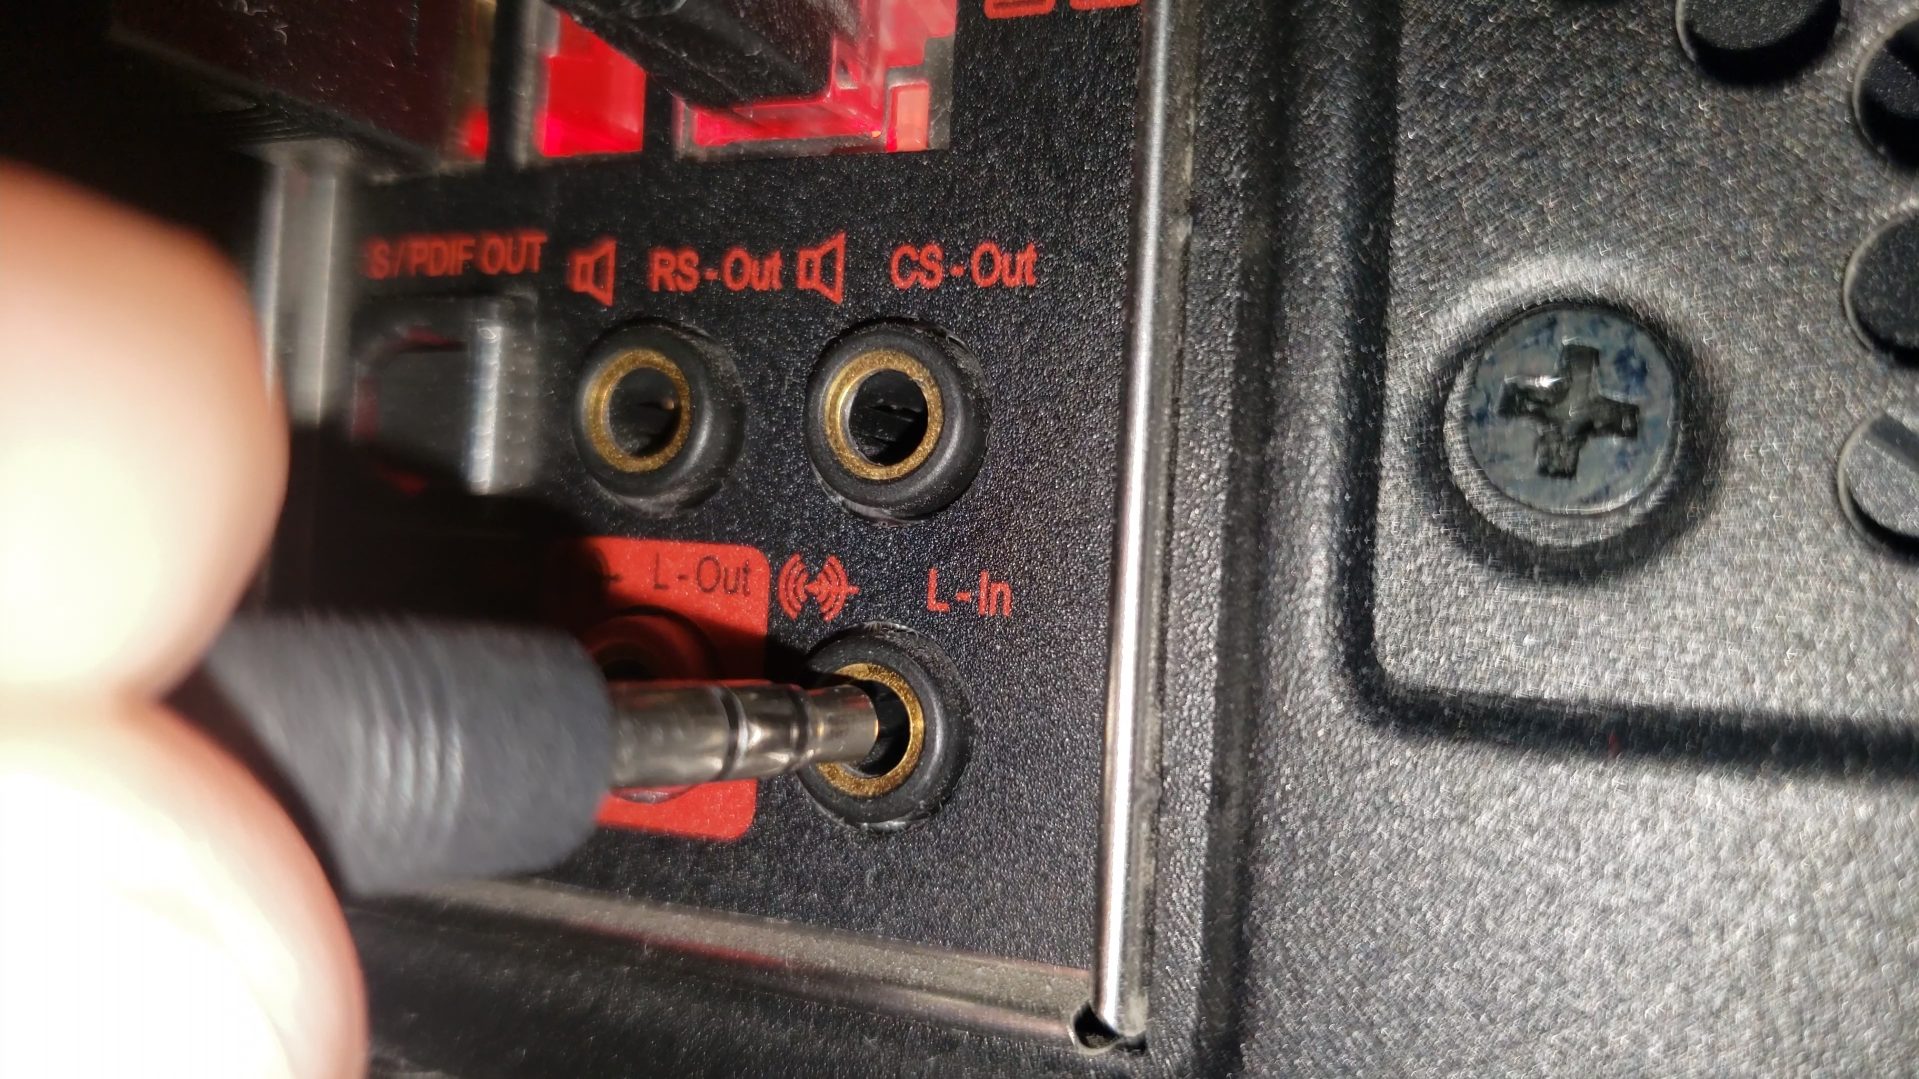
Go to the back of the gaming PC, plug the 3.5mm cable into the LINE OUT of your motherboard.

Next, take the other end of our 3.5mm cable and plug that into the ground loop isolator.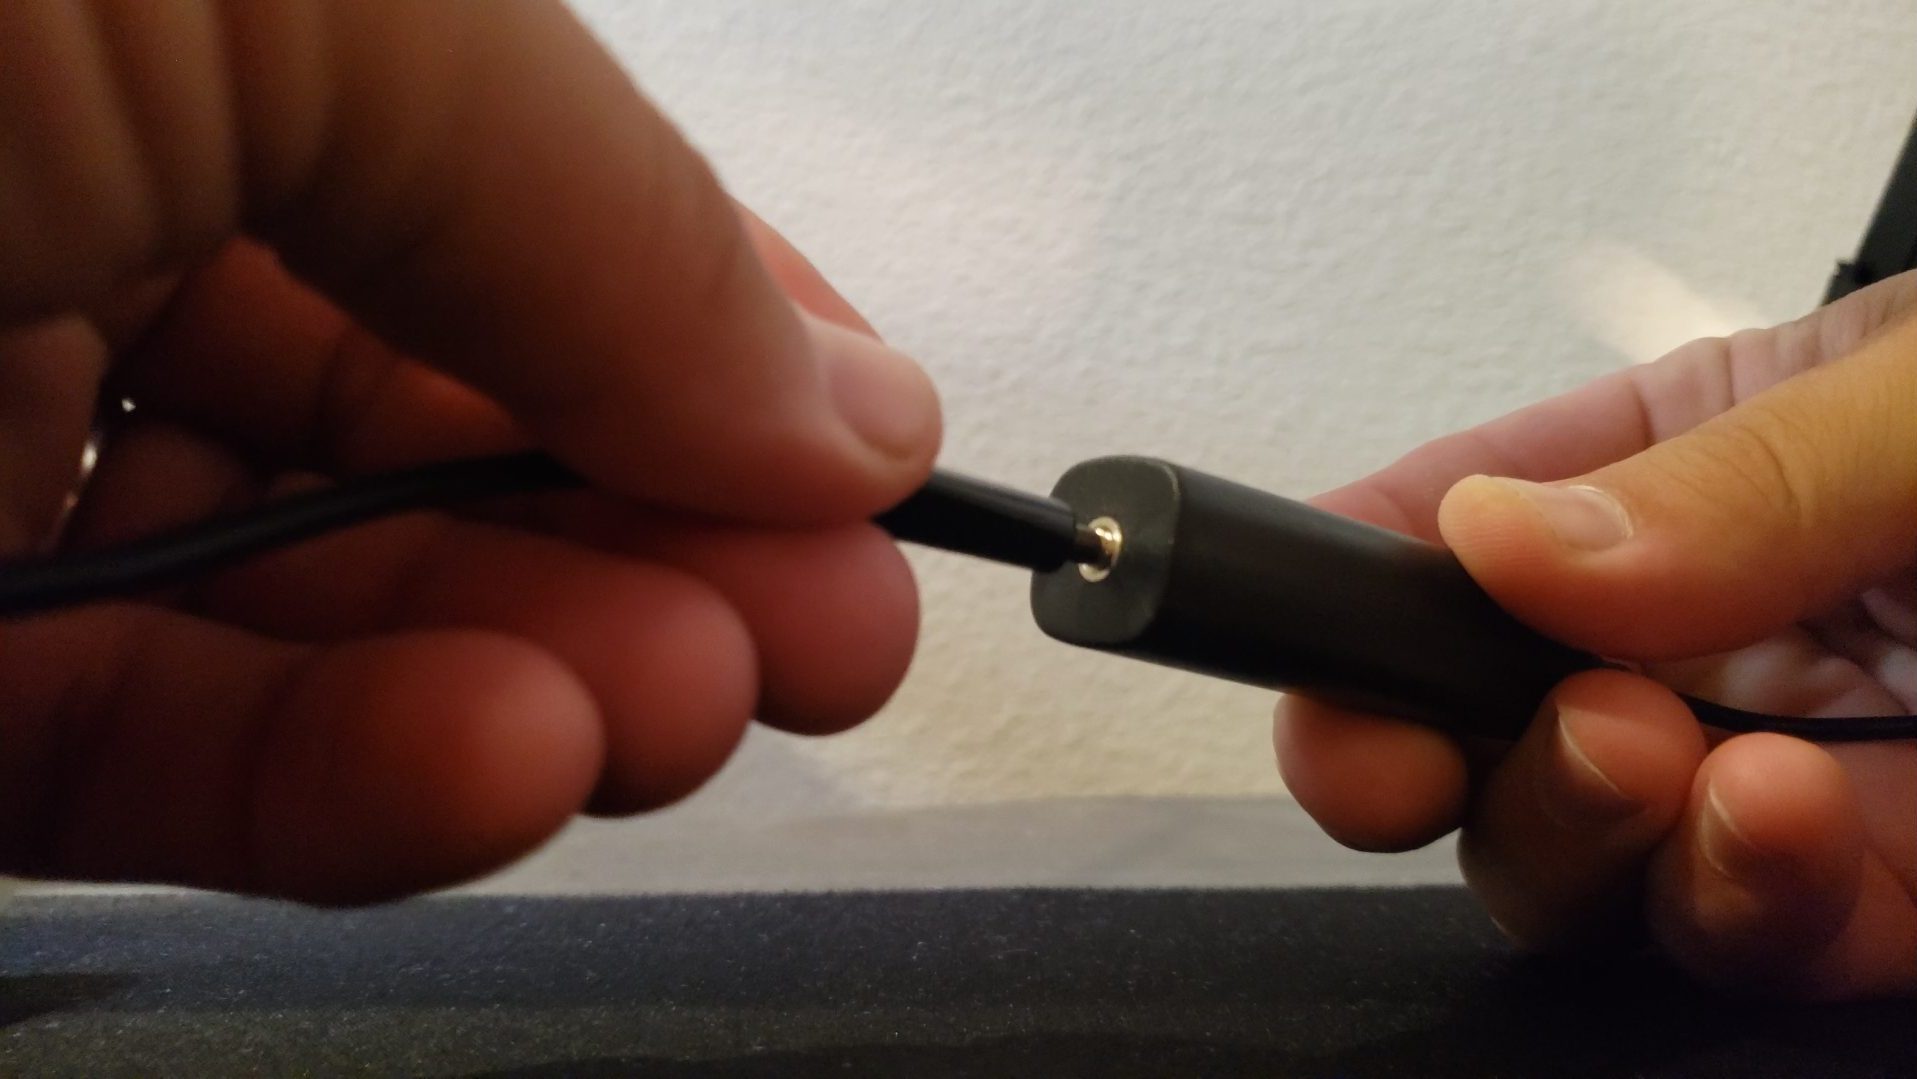
Afterwards, plug the ground loop isolator into the LINE IN of you Streaming PC’s motherboard.
Screen tearing on a Dual PC setup?
Check out our tutorial “How to Eliminate Screen Tearing on a Dual PC Stream“
Streaming PC
Now take the other 3.5mm cable, plug into the LINE OUT section of your Streaming PC’s motherboard.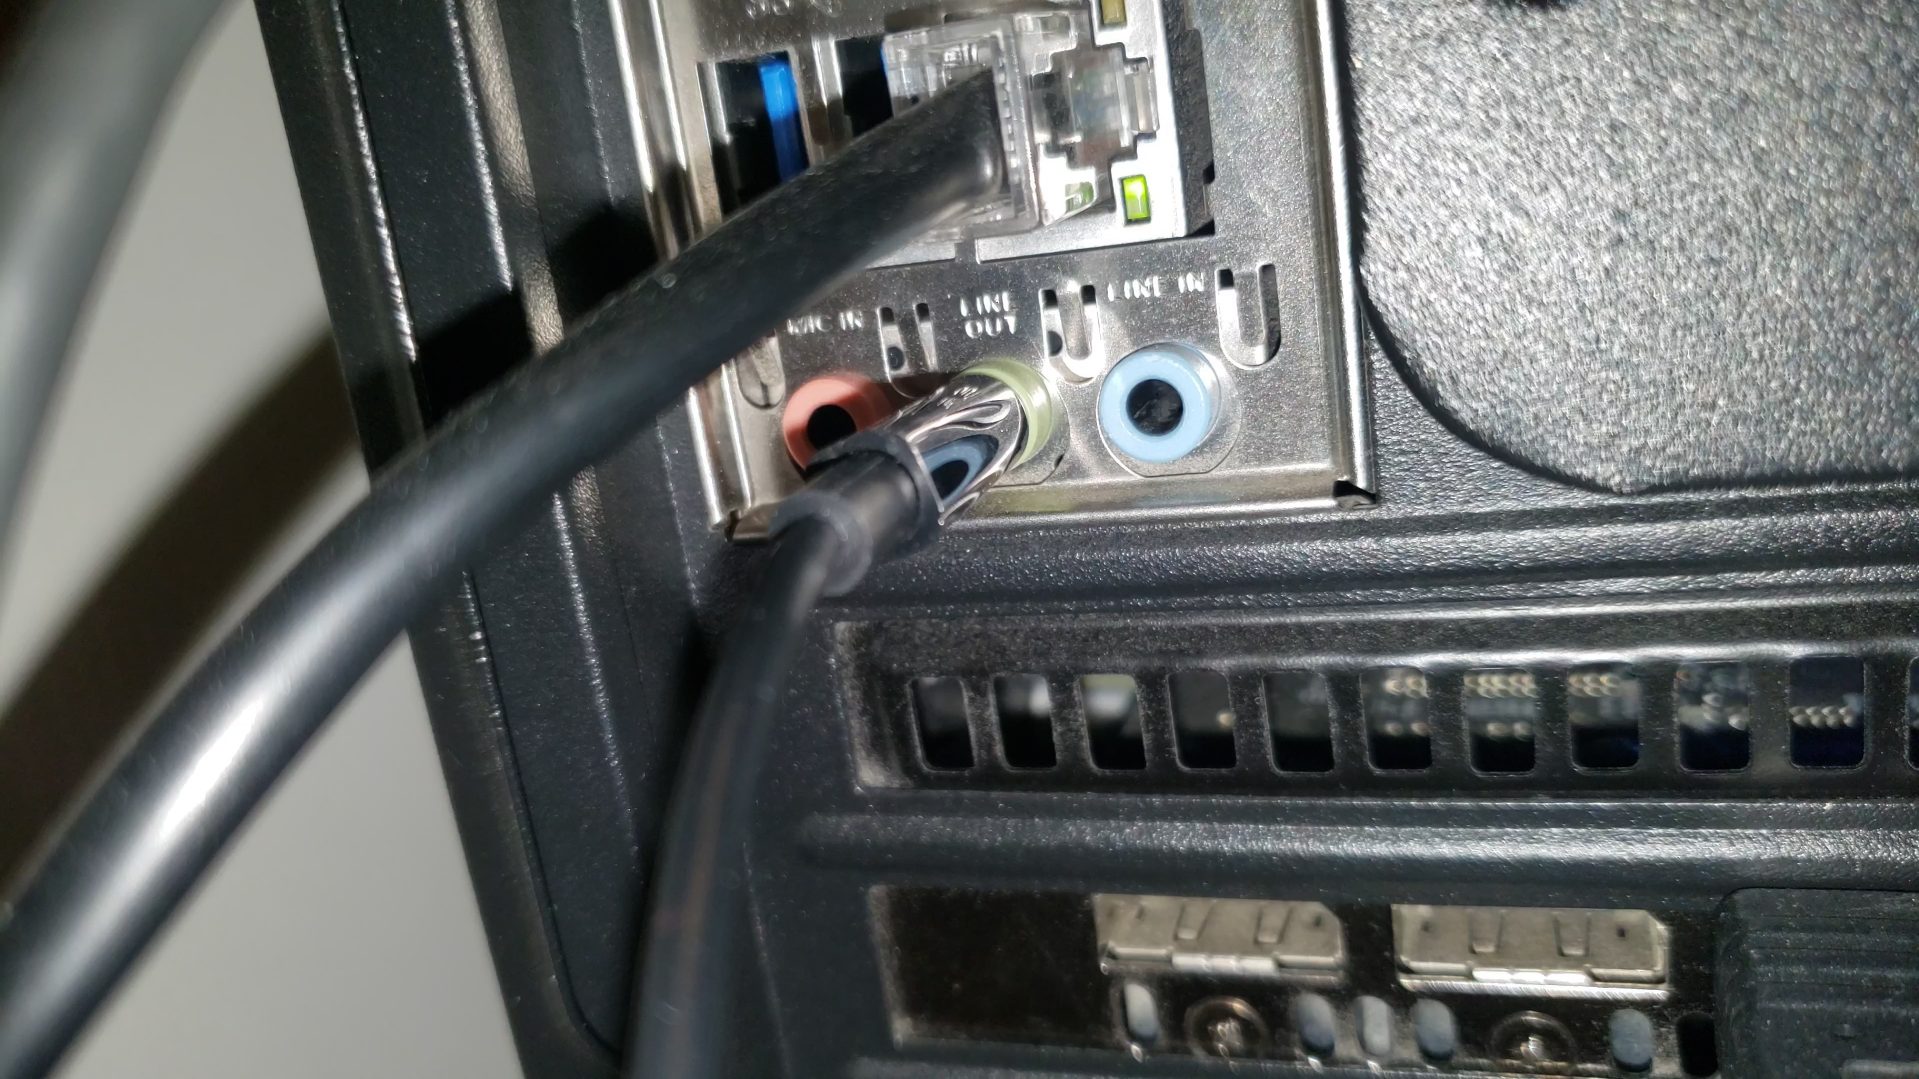
With the other end, plug that into the the other ground loop isolator.
Then plug the ground loop isolator into LINE IN of your Gaming PC’s motherboard.
With that completed, we have clean audio signals being sent to and from both computers!
Rename the 3.5mm cables in Windows Sound Control Panel
This step will make it easier to tell which sound setting is tied to your 3.5mm cables. Sometimes Windows will change audio devices icons or the name all together. For your own sanity, I heavily suggest doing this.
DO THIS FOR BOTH PC’s!
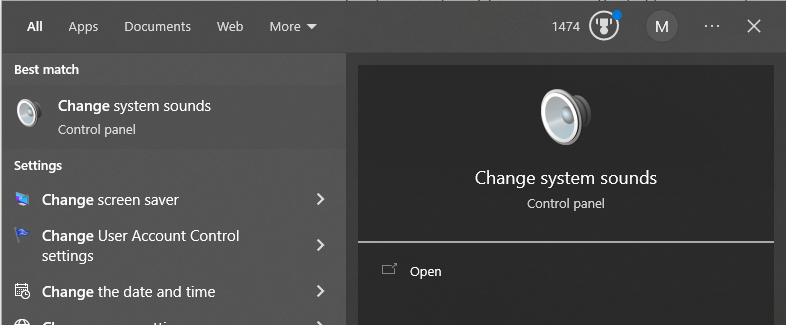
To rename your audio cables just hit your Windows key, search for “CHANGE SYSTEM SOUNDS“. This will open up your sound control panel.
Find the 3.5mm cable under the “PLAYBACK” tab, right click the 3.5mm cable and hit “PROPERTIES“.
Gaming PC: Change to “Line out to Streaming PC”
Streaming PC: Change to “Line out to Gaming PC”
Setting up Elgato Sound Capture for Dual PC audio
Sound Capture – Gaming PC
With the PC’s being psychically connected to each other, we’re going to route audio we want sent between both rigs using Elgato Sound Capture.
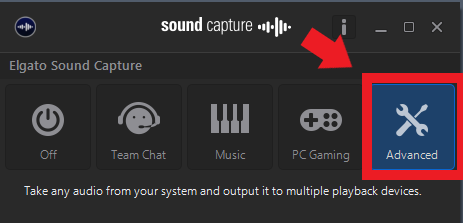
Open the Elgato Sound Capture, the select the “Advanced” tab. Now it will expand with a bunch of new options.
Focus on the “Settings” section of this tab. This is where were going to tell Windows where we want our audio to go. Here are the different sections of the “Settings“.
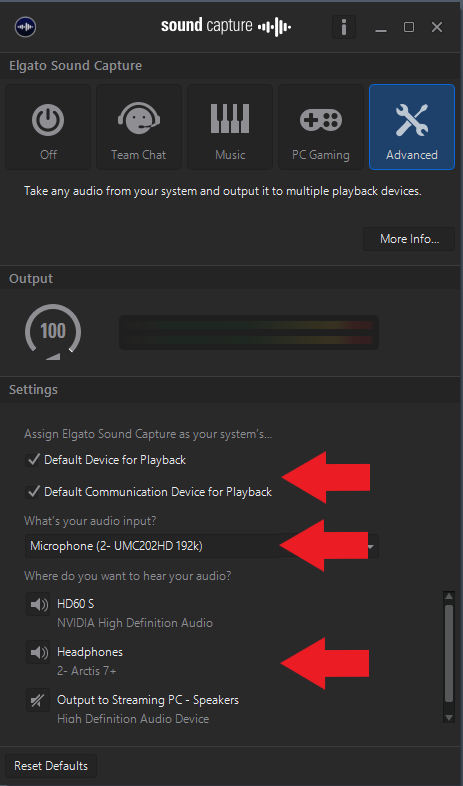
Assign Elgato Sound Capture as your system’s…
Both of these boxes are checked by default. This assigns the Elgato Sound Capture as the default device and default communication device in your Windows playback audio settings.
What’s your audio input?
Here is where you will select your microphone, click the drop down to find it.
Where do you want to hear your audio?
Activate your capture card & Listening device (headphones/speakers).
Mute/deactivate the LINE OUT renamed to “Output to Streaming PC – Speakers“.
Sound Capture – Streaming PC
Here we’re going to follow similar steps for the stream PC, do as follows:
Assign Elgato Sound Capture as your system’s…
Just like the gaming PC, these boxes are checked by default. Just leave them as is, as this will make the sound capture software your default listing and communicating devices.
What’s your audio input?
Since we are using our microphone through the gaming PC, we’ll select “None“.
Where do you want to hear your audio?
Activate the “Line out to Gaming PC“.
Mute/deactivate nothing else, unless its sending unwanted audio to the gaming PC.
Gaming PC – Mic Setup
In this step I’ll show you how to route your mic audio through the line out cable from the gaming PC. This will allow OBS on your streaming PC to have your mic in its own channel. This makes it easier to add processing effects like noise gate, compressor, etc.
Hit the windows button and type “Change System Sounds“.
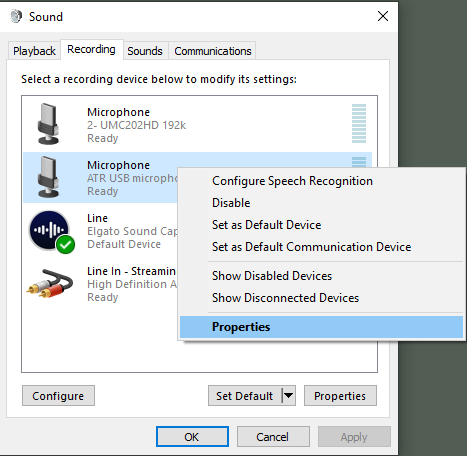
Go to the “Recording” tab, right click on your microphone and click “Properties“.
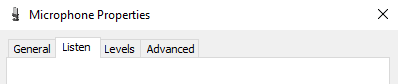
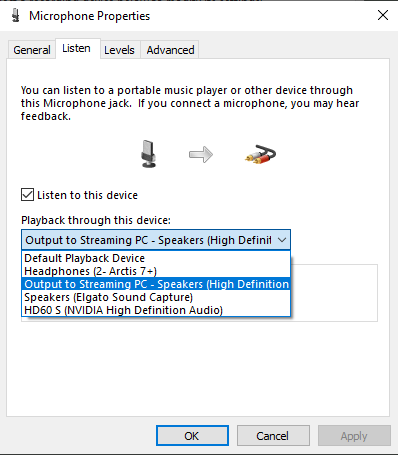
In the properties screen, go to the “Listen” tab.
Check the “Listen to this device” box.
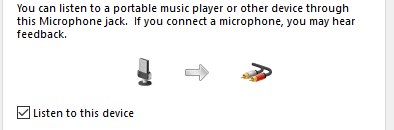
Now click the dropdown under “Playback through this device” and select the “Output to Streaming PC” option. (or whatever you renamed the 3.5mm cable in windows)
Step 4: Setting up the Mic in OBS
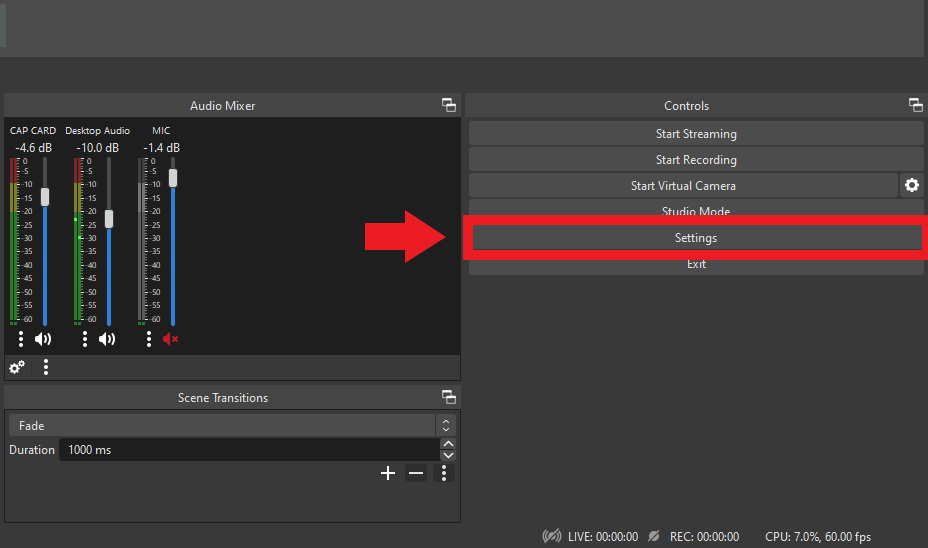
Open OBS, go to “Settings“.
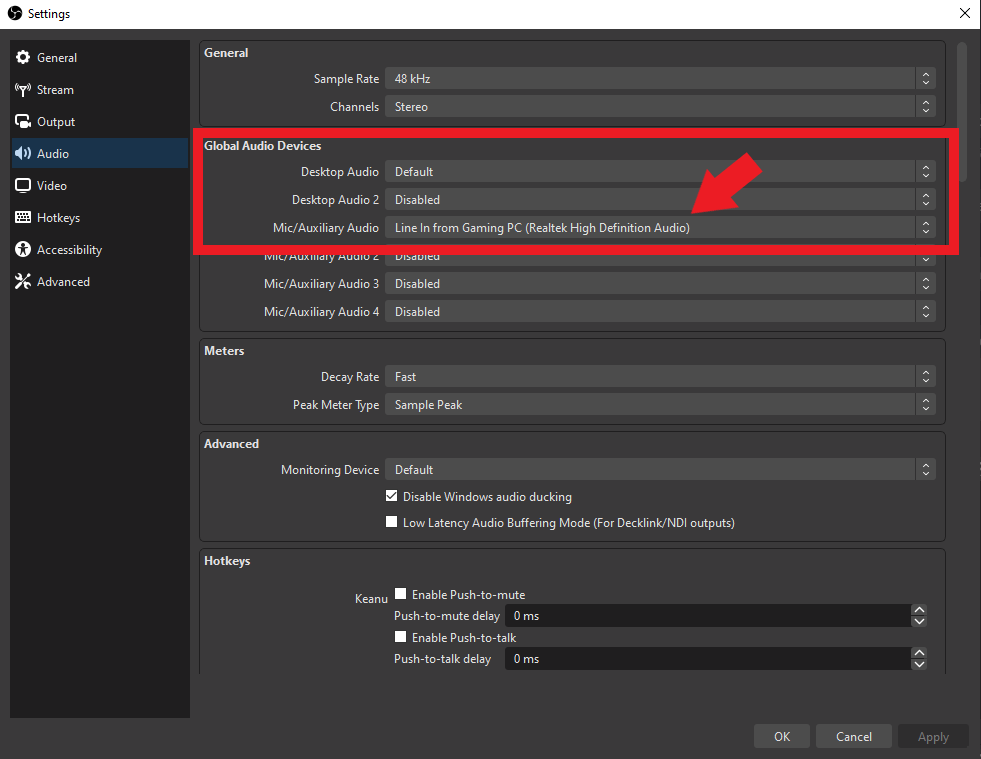
Go to the “Audio“, and under the Mic/Auxiliary Audio select the “Line in from Gaming PC“. Hit apply and its done!
If audio stops working at any point in time using this method, try these solutions:
Check if Elgato Sound Capture is open – Depending on your windows start up settings, Elgato Sound Capture won’t open on start.
Check if multiple users are logged on to either PC – I share my PC’s with my family and if other users forget to log off their account, Windows can get confused on which account to keep the Sound Capture software active under.
Un-select and re-select sources manually – Windows is known for breaking audio settings with its minor updates. I’ve had issues where everything is setup correctly, but no audio.
Was a simple fix where manually going in to every audio source (in Sound Capture and the Windows Sound Control Panel), either unassigned/check off and re-assign/recheck every source. Don’t ask me why this sometimes works, it just does!
Stuff to watch out for using a Dual PC Audio Setup – no Mixer
This setup is by far the easiest path if you are looking for a “set it and forget it” kind of audio setup for your dual pc stream. There are other programs that also achieve this, like Voicemeeter Potato or physical hardware such as the GoXLR or Elgato Wave XLR. All of which can be expensive or confusing. I had a moment where this setup might have been possible to do without the use of Sound Capture. But found out the hard way, Windows doesn’t truly allow you to split outgoing audio to two different devices, even if you manually select them in the audio settings.
And with that now you have your dual PC audio solution!
If you prefer a video guide, check out the DweebHub tutorials YouTube channel!
Amazon and the Amazon logo are trademarks of Amazon.com, Inc, or its affiliates.