As an Amazon Associate I earn from qualifying purchases.
If you have been streaming for a while and have found handling audio to be a daunting or annoying task, then VoiceMeeter might be exactly for what you are looking for! VoiceMeeter offers you a wide variety of audio mixing options that a lot of other physical mixers are lacking. You can connect all your favorite programs like Discord or Spotify and even split outgoing audio to multiple physical devices. While VoiceMeeter mixers tend to have quite the learning curve, that’s what we’re here for! In this guide, we go over how to setup VoiceMeeter Potato for users at any skill level!
The steps mentioned in this guide also work for other versions of VoiceMeeter, like Banana or the standard VoiceMeeter mixer.
In this guide we’ll show you how to:
- Download and install VoiceMeeter Potato on your system.
- Configure your audio inputs and outputs so VoiceMeeter is ready to be used with any program.
- Understand audio channels and the basics of routing audio on the mixer.
- Set up your microphone, headphones, and other audio devices.
What is VoiceMeeter Potato?
VoiceMeeter Potato is an advanced virtual audio mixer and routing software developed by VB-Audio. Designed to provide users with robust audio management capabilities, allowing them to control and manipulate various audio sources on their Windows computer in real-time. This versatile tool is particularly popular among content creators, streamers, musicians, podcasters, and anyone seeking to achieve professional-grade audio quality.
VoiceMeeter Potato Setup
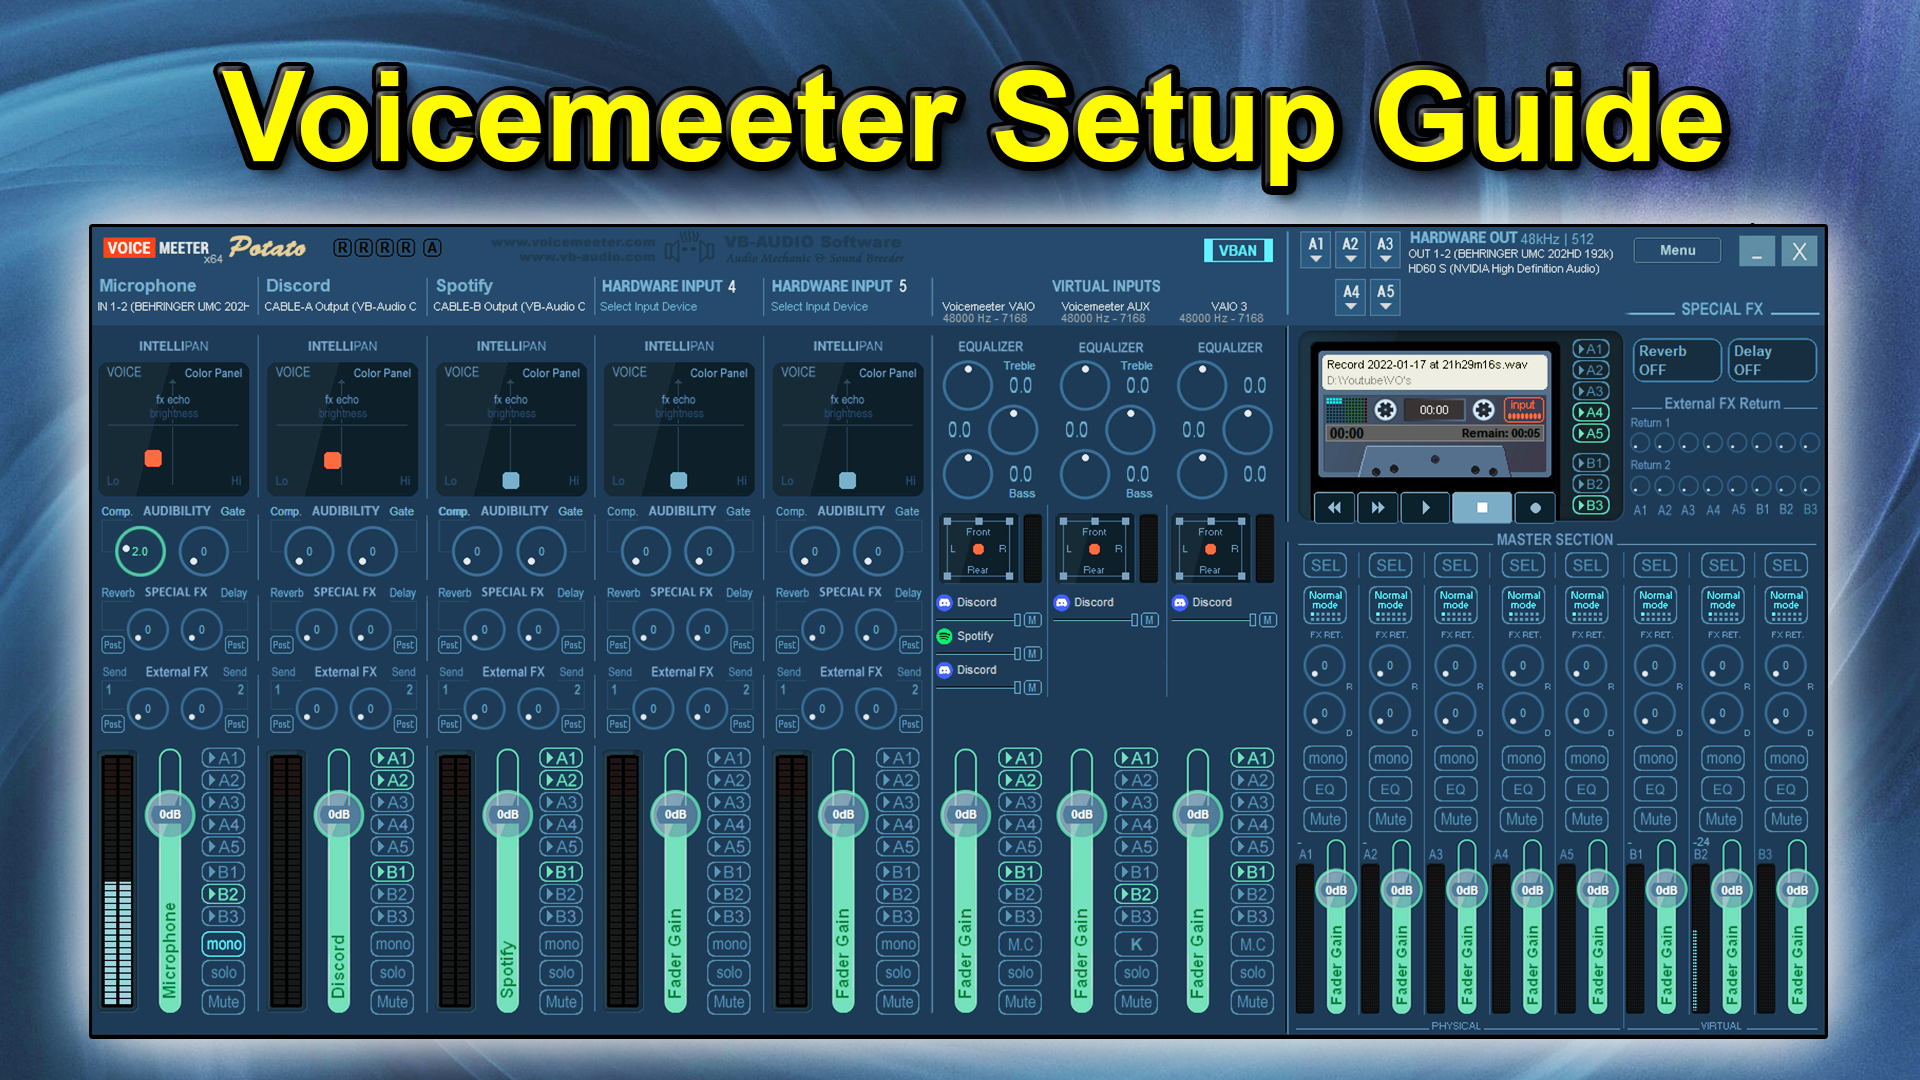
Below are the three main sections of VoiceMeeter mixer that we’ll be focusing on:
Hardware Outputs
This section, found in the top right of the mixer, is where you can select your output device. VoiceMeeter allows you to split audio between 5 output devices like headphones and speakers.
Hardware Inputs
As the name describes, the 5 channels on the left side of the board are for both physical & digital input devices. This is where your microphone will be connected to the board, along with Discord or Spotify. You can connect programs to this section of the board using virtual audio cables from VB-Audio (you can get 2 for free!).
Virtual Inputs
The virtual input section of the mixer (for us at least) us the final stop for your audio after its been routed through the mixer. From here you can send desktop and mic audio to any Hardware output device you want.
Installing VoiceMeeter
First, go head over to VB-Audio’s website HERE and choose to either to download the Zip file or Exe installer, for this guide we’ll be using the installer.

The VoiceMeeter Potato installer must be ran in administrator mode. To do so, right click on the Installation icon and select Run as Administrator.

Once installer is complete, reboot your PC to complete the install of all the necessary VoiceMeeter drivers.
Assigning VoiceMeeter as the Windows Default Input and Output Devices
Before opening and setting up the VoiceMeeter Potato mixer, we need to make sure windows has assigned VoiceMeeter as our default input and output devices. Without doing this step the mixer will not work.
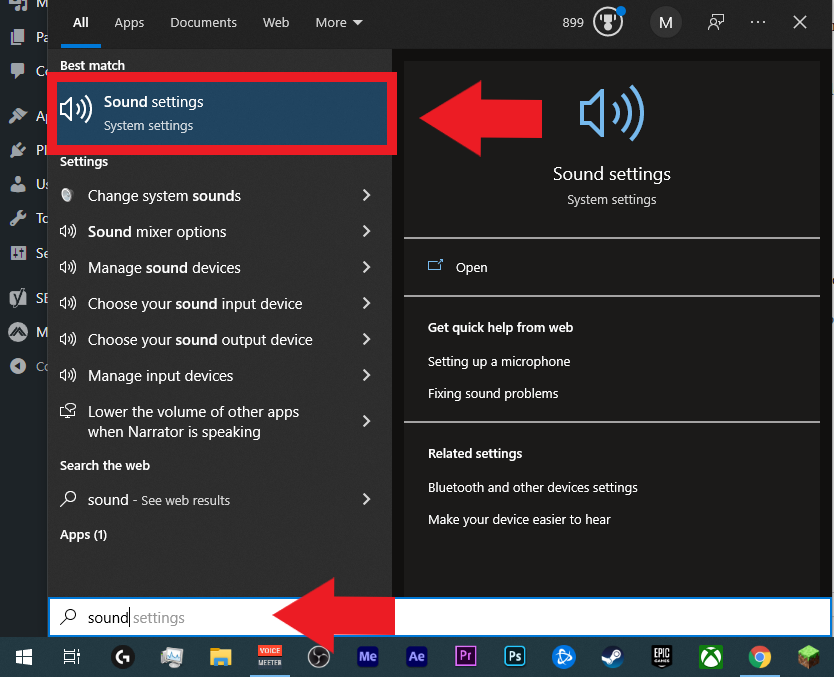
Type the WINDOWS KEY then enter Sound Settings.

With the sound settings open, set the Output device to VoiceMeeter Input.

Now for the Windows audio Input setting, set that to VoiceMeeter Aux Output.
VoiceMeeter Aux Output is what you will use as your Microphone for ALL programs moving forward.

We would also suggest double checking the Sound Control Panel, to make sure Windows hasn’t assigned another device as its default recording or playback devices.
Want to use VoiceMeeter to split output audio between multiple devices?
Here is our tutorial on “How to Split Audio with VoiceMeeter Potato”
Setting the Hardware Outputs in VoiceMeeter Potato
Now that we have our Windows settings set up to process all audio through VoiceMeeter, next we have to choose the physical hardware output. One of the nice features of VoiceMeeter is you can send audio out to multiple outputs at once. For example, you can route specific audio to only output to A1, which we have our wireless headphones assigned to. We also have audio being sent to the A2 button which forces audio to our external capture card and A3, which is our audio interface.

Lets open up the VoiceMeeter Potato mixer, find the Hardware output boxes in the top right corner of the mixer and as shown below.
Click on the A1 box to bring up the selection drop down. Choose the WDM device you use to listen to audio from your PC. We selected our Behringer UMC interface. 
We chose WDM over the other audio drivers as it’s been tested to have the lowest latency.
Now that we have the output device selected, next we’ll work on getting your microphone setup and how to route audio through the mixer.
Looking for an easy to follow, VoiceMeeter Dual PC audio guide?
Click here to learn how to utilize VoiceMeeter’s VBAN for your Dual PC Stream
How to Setup Microphone in VoiceMeeter Potato
Lets look at the Hardware Input section of the mixer, these are the 5 channels on the left side of the mixer.

Lets setup our microphone under Hardware Input 1, the channel on the farthest left of the mixer. First lets rename the channel by right clicking the Hardware Input 1 text and typing Mic into the text box, hit enter t save.

Click where it says Select Input Device and select your WDM microphone or audio interface from the drop down.

By default the A1 button will be enabled, after you selected your mic should be able to hear yourself. If you hear yourself, good! Its working as intended and you can now uncheck the A1 button, unless you wish to monitor your mic’s audio.

SIDE NOTE: IF YOU’RE ONLY HEARING AUDIO OUT OF ONE EAR, CLICK THE CHANNELS “MONO” BUTTON.
Next lets look at the the B1, B2, and B3 buttons. We’re going to route the microphones audio to VoiceMeeter Aux Input, which is the middle virtual input. Select ONLY the B2 for Hardware input 1.

So now when you have to choose an input device for programs like Discord or OBS, you’ll choose “VoiceMeeter Aux Out” as your input device.

If you want to know how to connect Discord to VoiceMeeter,
check out our post that shows you how!
Setting up Virtual Inputs in VoiceMeeter

The last part of the mixer we need to go over is the Virtual Input section of VoiceMeeter. The Virtual Inputs are located directly in the middle of the mixer. They represent both your system level default input and output devices, which we already previously setup in the beginning of the guide.
While there are many interpretations of how to setup VoiceMeeter, this is how we have used it for years with no issue:
VoiceMeeter VAIO – Or as referred to on the system level, VoiceMeeter Input and also listed on the mixer as B1. This is your PC’s default output device and represents your desktop audio.
Only select the A1 and B1 buttons for the VoiceMeeter VAIO channel. Select more A buttons if you have other output devices you want to send your desktop audio.

VoiceMeeter Aux – Referred to as the VoiceMeeter Aux Output and listed on the mixer as B2, this is what should be used as your default input device. VoiceMeeter Aux will be used instead of your Microphone.
DO NOT Select any buttons, leave completely blank.
VoiceMeeter VAIO3 – While technically not needed for this guide, VoiceMeeter VAIO3, which is listed on the mixer as B3 ,can be used a secondary system level device or another desktop audio. Like another VoiceMeeter Input, this is just another means of giving you more levels of splitting or customizing audio.
IF USED, ONLY SELECT THE A BUTTONS YOU WANT AUDIO PLAYED BACK ON.
Conclusion
And with that, you now have VoiceMeeter Potato setup on your PC. While this guide only covers the initial setup, there are a TON of features that we didn’t even scratch the surface on. To learn other useful ways to use VoiceMeeter, check out all of our VoiceMeeter guides!
If you would like a Video version of how to install and setup VoiceMeeter Potato, you can check out the video below:
Amazon and the Amazon logo are trademarks of Amazon.com, Inc, or its affiliates.


